FIRST PROJECT — WAYZ.APP
CREATE A FREE WEBSITE PAGE ON WAYZ.APP — PUBLISH ONLINE WITH LINK & QR CODE
Follow the steps below to sign up and create your first project on wayz.app, choose your template, add your info, and publish your project!
Go to WAYZ.APP
Open Wayz.app in your browser. Wayz is a multiplatform and user-friendly application that you can access from your laptop, desktop, tablet, or mobile device! However, for a better editing experience, use large screens to setup your website for the first time.
Go to Register / Login Page
If you already have an account on Wayz.app, simply log in. Otherwise, you will need to register using your email and password or sign in with your Google account.

Verify your Email Address
If you choose to register with an email and password, you will need to verify your email after registration. An email will be automatically sent to your inbox. Open the email, find the verification link inside the email body, click on it, and you'll be all set to go!
For "Sign In with Google account" no need to verify your email, a pop up from google will automatically open to login using your gmail account.
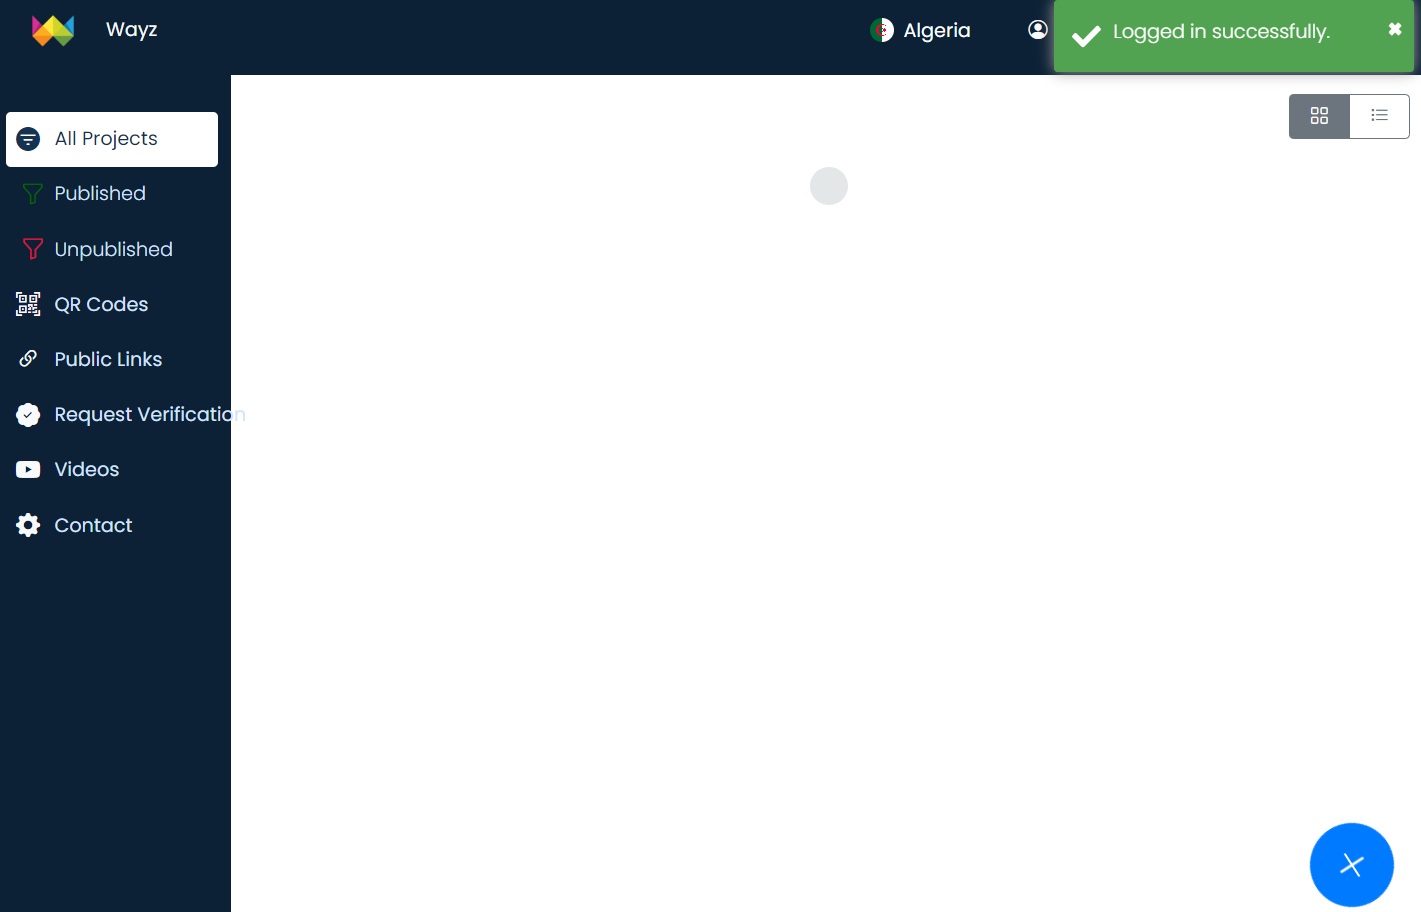
Welcome to the Dashboard Page
After you register or log in successfully, you will be redirected to the dashboard page. You will need to choose your country the first time you log in, and then you will be ready to create your first project!
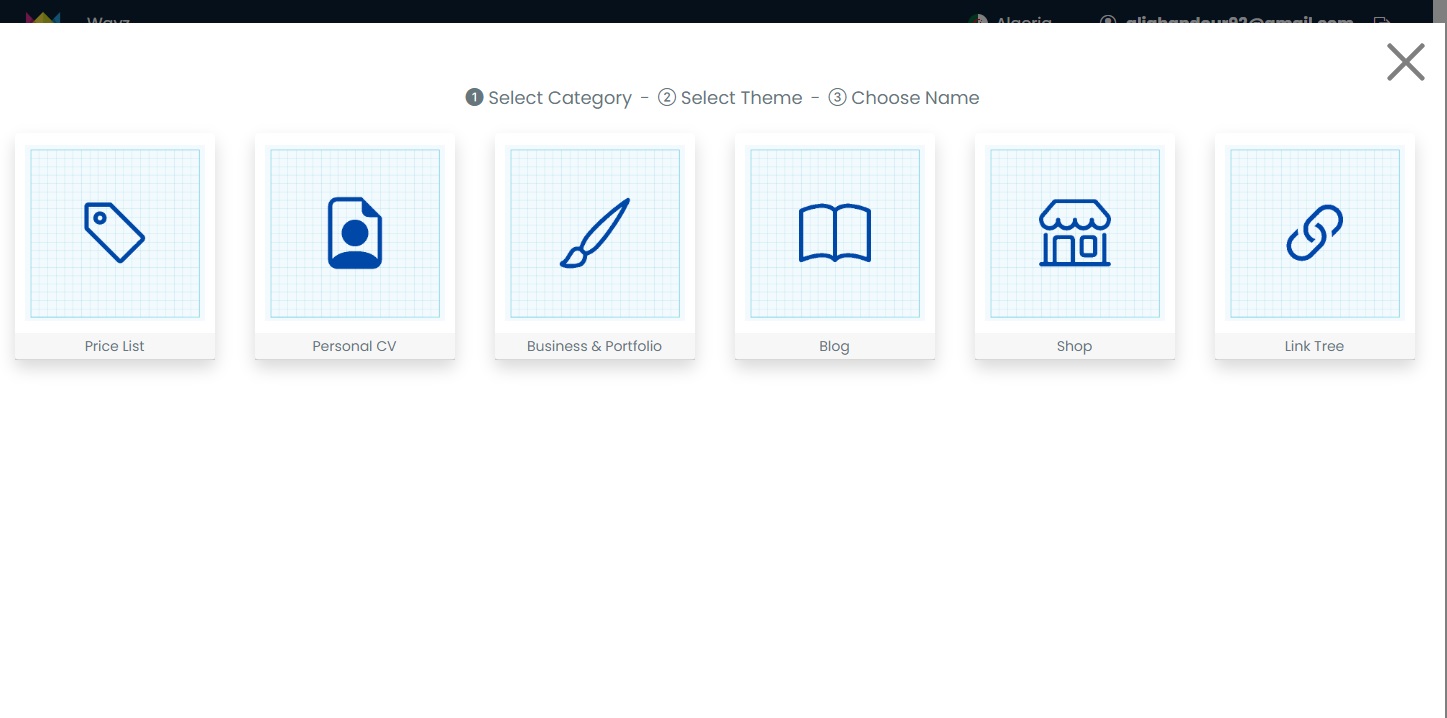
Create your First Project
Click on the "+" plus icon in the bottom to start creating your first project.
Now you can see a list of available categories. Some categories offer more than one template. Choose the category related to your business or the type of website you wish to create, such as a digital price list for businesses with pricing tables like restaurants, coffee shops, barber shops, electronics stores, or any type of retail shop. Additionally, there are other templates available, including those for resumes, business portfolios, affiliate shops, link trees, and more.
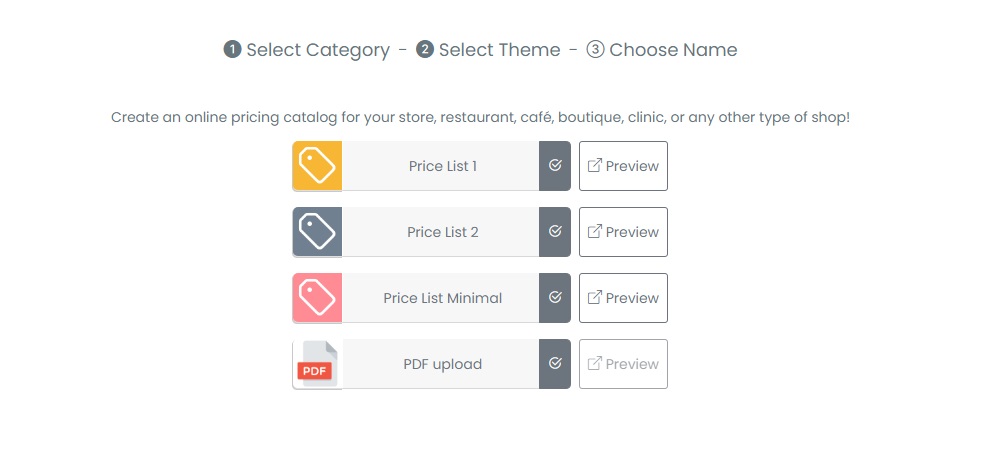
Preview Templates
After choosing your category, note that some categories may have multiple templates available. Click on the preview to open the template sample page in a new tab. Review all the options before selecting one.
Also, for some templates, you may simply upload an available PDF file and it will be served as your online website after you publish and get the public link and QR code.
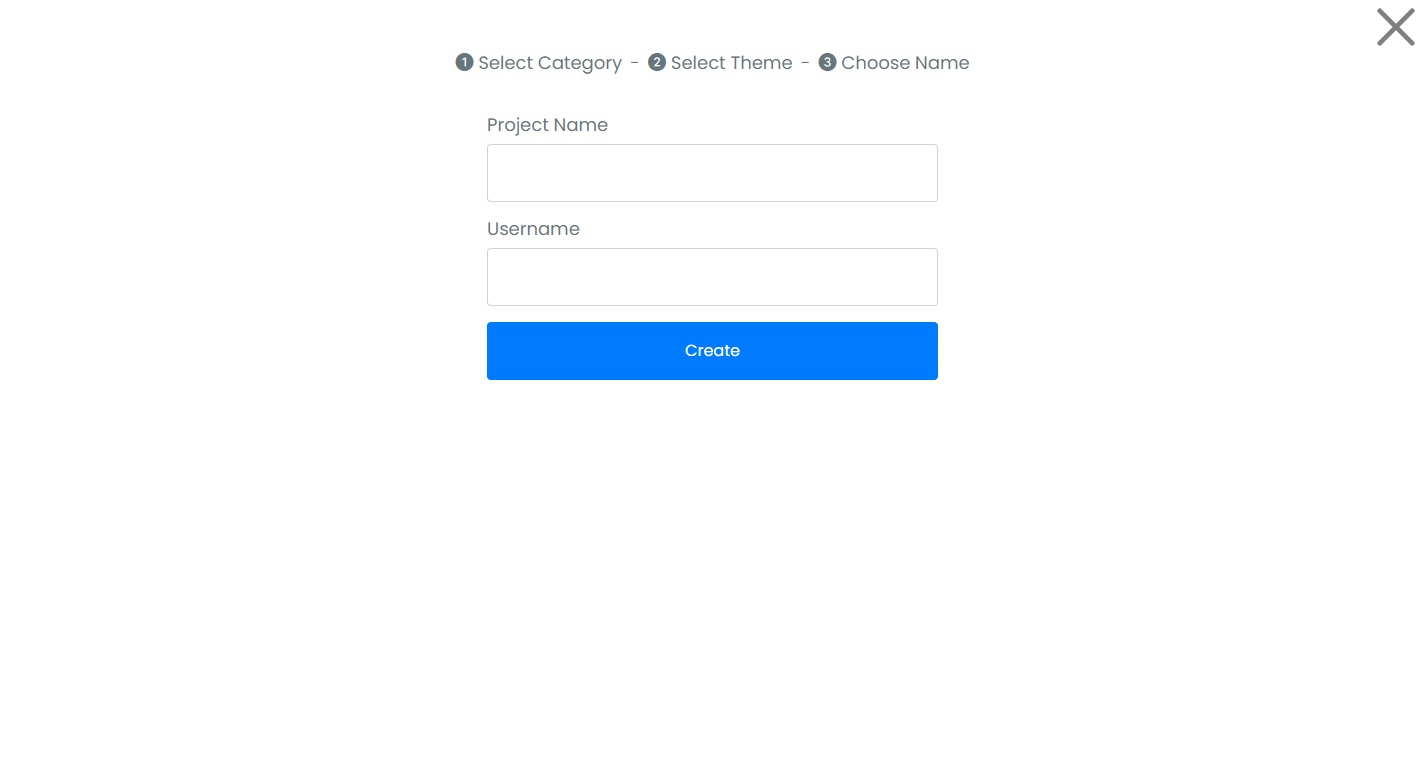
Enter Project Name and Username
Enter your project name and username. Your username should be unique across all Wayz projects, as it will be used as the main identifier in your public link after you publish your project. For example, if you choose the username abc123, your public link will be www.wayz.app/abc123. Once you've chosen your username and built your project, you won't be able to change it, so take a few minutes to choose a good username for your project.
Once finished, click on Create and that's it!
Open/Edit your Project
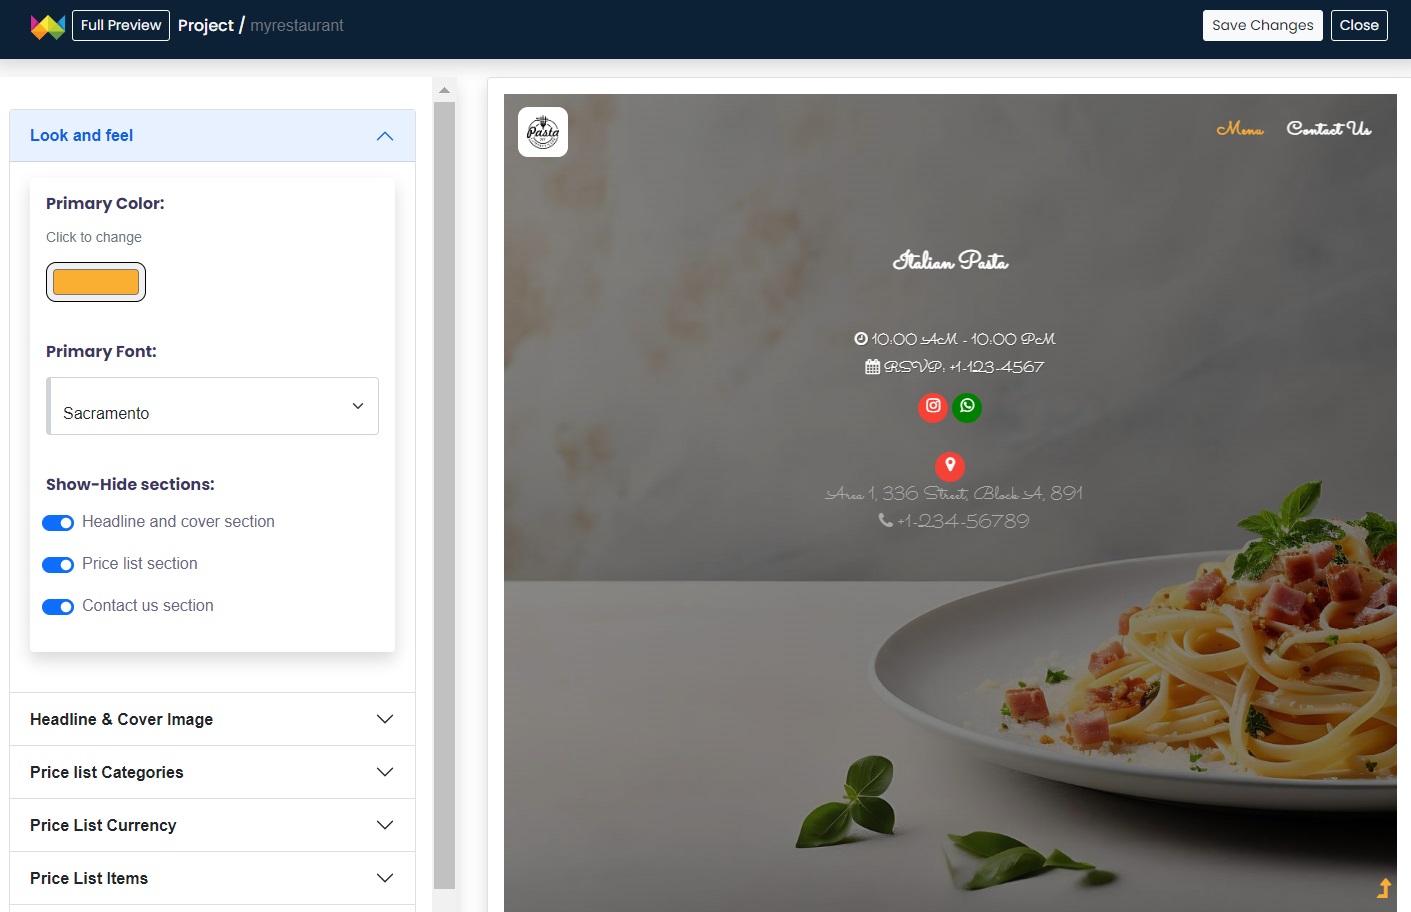
Open your first project to start editing your information. You can find all the necessary tools on the left side of the banner and a live preview of your website on the right side.
Navigate the sections on the left banner to find options related to the look and feel, fonts, colors, showing or hiding sections on your website page, and more. Start tweaking these options to get the best results and make your site most reflective of your business and style!
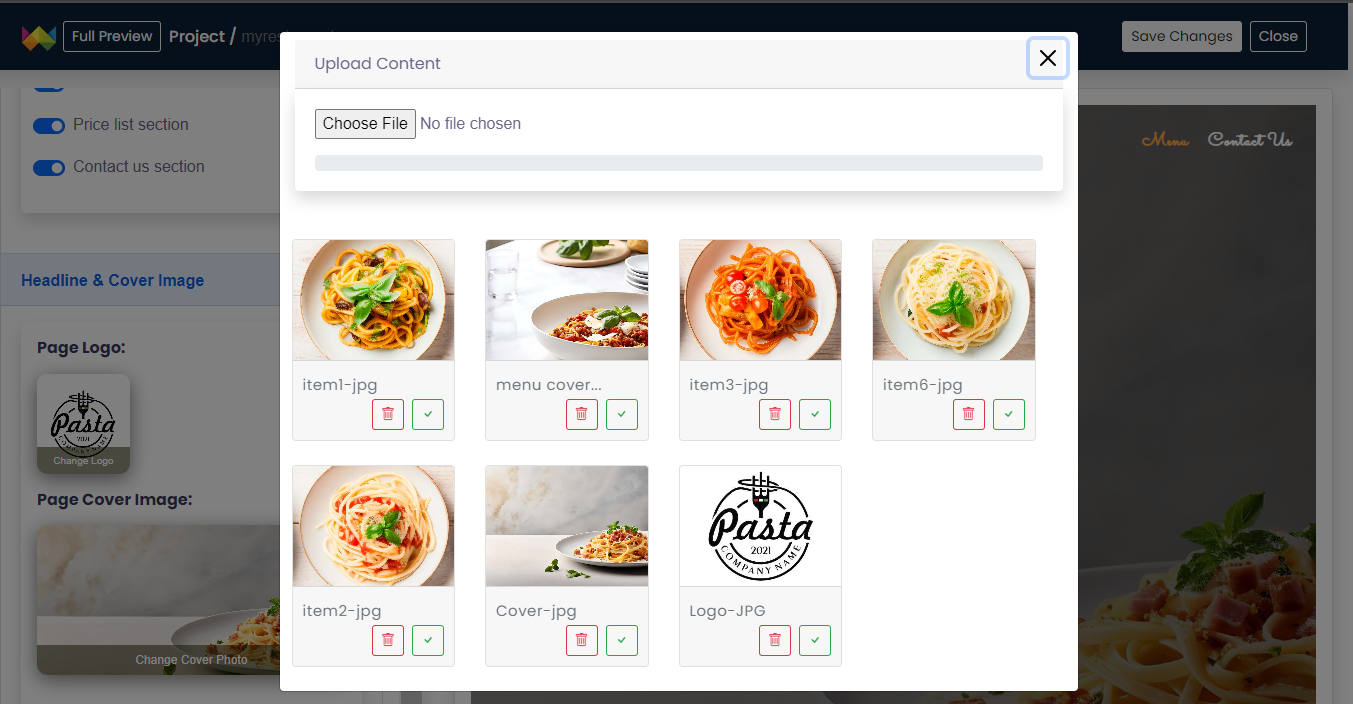
Upload your logo and cover photo. You will have a separate image gallery for your uploads for each project. After each upload, you can crop the image on the go. Additionally, you can reuse the same uploaded images multiple times on your website. Please ensure that image size is no more than 1 megapixel.
Now, take the time to add your business or store information. Example, for price lists and digital menus, first create your sections, then add your items under each section. Each item should include an image, price, title, and description. You can add, update, remove, or reorder items at any time.
Note that, detailed silent videos are available on YouTube, showing how to add content for each template. If you find it difficult to add your content, take a few minutes to watch the available tutorials..
Save and Publish your Project
Once you have added all your information, click the "Save Changes" button in the top right corner, and then on the close button. Remember that you can enter and modify any piece of information at any time in the future and it will be updated real time for end users.
From the dashboard page, simply click the "Publish" button to go online in one click!

Once published, click the three dots in the top right corner of each project to find additional options, such as copying the generated public URL or copying and downloading the generated QR code.

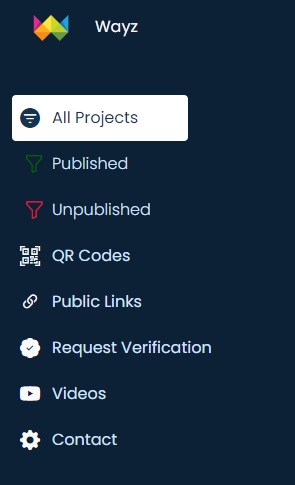
You can also find multiple options on the left banner of the Wayz dashboard, including the list of projects, public links, QR codes, and more.
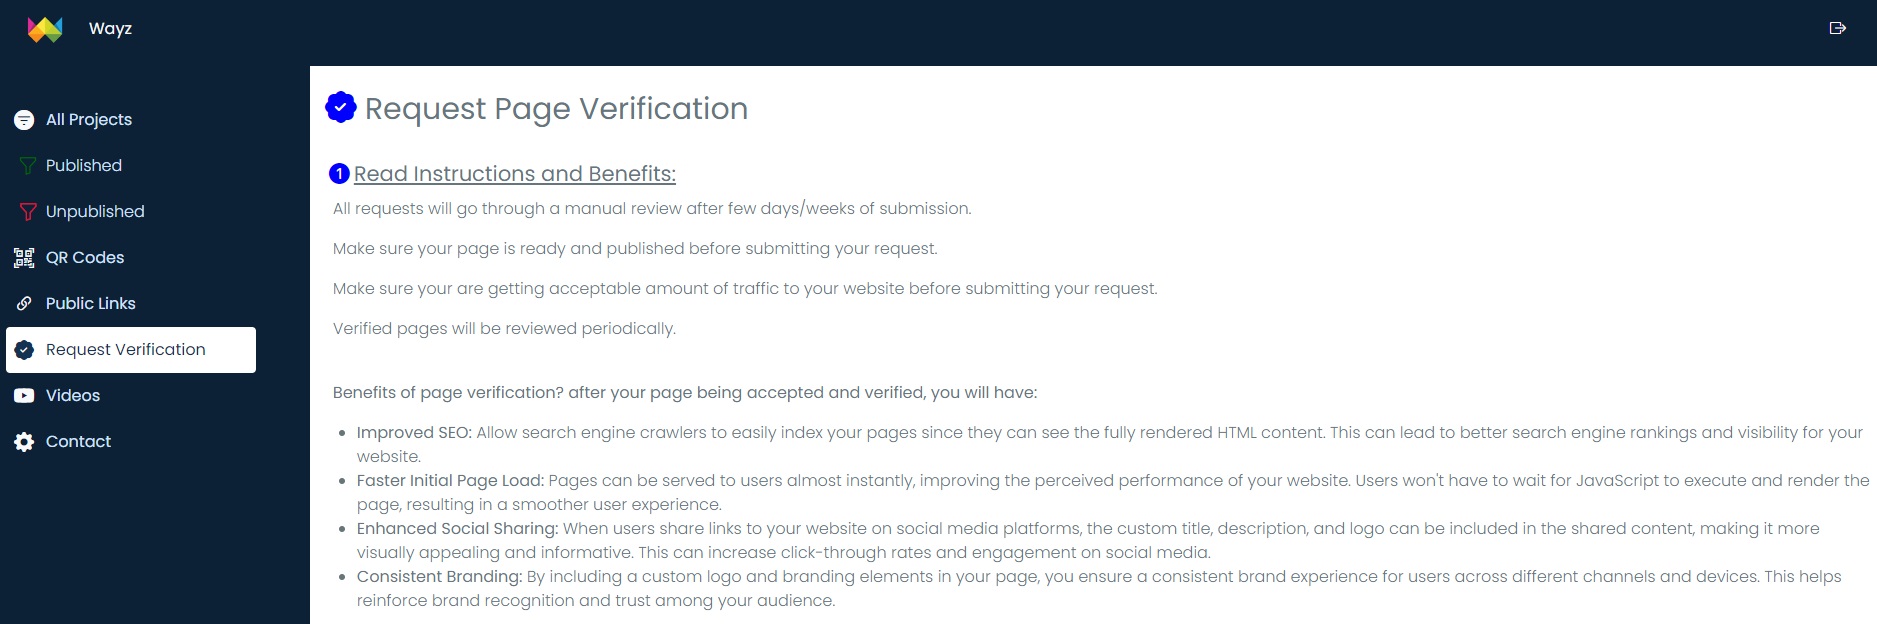
Request Verification
Once you have published your project, shared your public link with users and clients, and started getting some traffic, you can request verification for your project by simply submitting your request. It may take a few days or weeks to complete, but once verified, you will benefit from the following features: improved SEO, faster initial page load, enhanced social sharing, and consistent branding. Check all the details on the Request Verification page under the Wayz dashboard.